How to Make a 3D Printable model from Scratch
Share
Wickelle’s Step by step guide
Step 1: Make a Concept Sketch
- Brainstorm Ideas: Think about what you want to create. Make a couple of quick little thumbnail sketches before picking one to develop further. If you are a beginner at 3D modeling, try using shapes like spheres, cubes, cylinders and cones as these are the basic shapes (also called primitives) in sculpting softwares. A simple robot would be a good subject for a beginner.
- Draw Your Concept: It doesn't have to be pretty, try to get the key aspects of the design down. It's a lot faster and easier to try out things in 2D than it is to do in 3D. The sketch will serve as a blueprint for your 3D model so focus on shapes and proportions. It can also be useful to draw multiple views (front, side, back) to help capture all aspects of your design.

Once you are happy with your concept, assess the feasibility of your concept:
- Skill Assessment
- Do I have the 3D modeling skills and knowledge to create this model?
- Design Feasibility
- Are there any parts of my design that cannot be made in 3D form?
- Floating Parts
- Are there any floating parts in my design?
- How will floating parts be attached or suspended in the model?
- Model Stability
- Will the model be able to stand on its own?
- Does the model need a base for stability?
- Fragile Parts
- Are there any parts that are very thin or small?
- Are there any parts of my design that may be prone to snapping once printed?
- Printing Issues
- Are there any parts that could be problematic when printing?
- Are there any parts that would make it hard to add print supports or remove them once printed?
- Post-Processing
- What is the best way to separate this design to make it easier to paint once printed?
- Do I need to cut some parts so they can be printed in different resins/filaments (e.g., for translucent effects or different colors)?
- Detail and Scale
- Are the details in my design appropriate for its scale?
Going through this list should help you evaluate your concepts and address any potential issues before starting the 3D sculpting process.

Step 2: Make a 3D Model
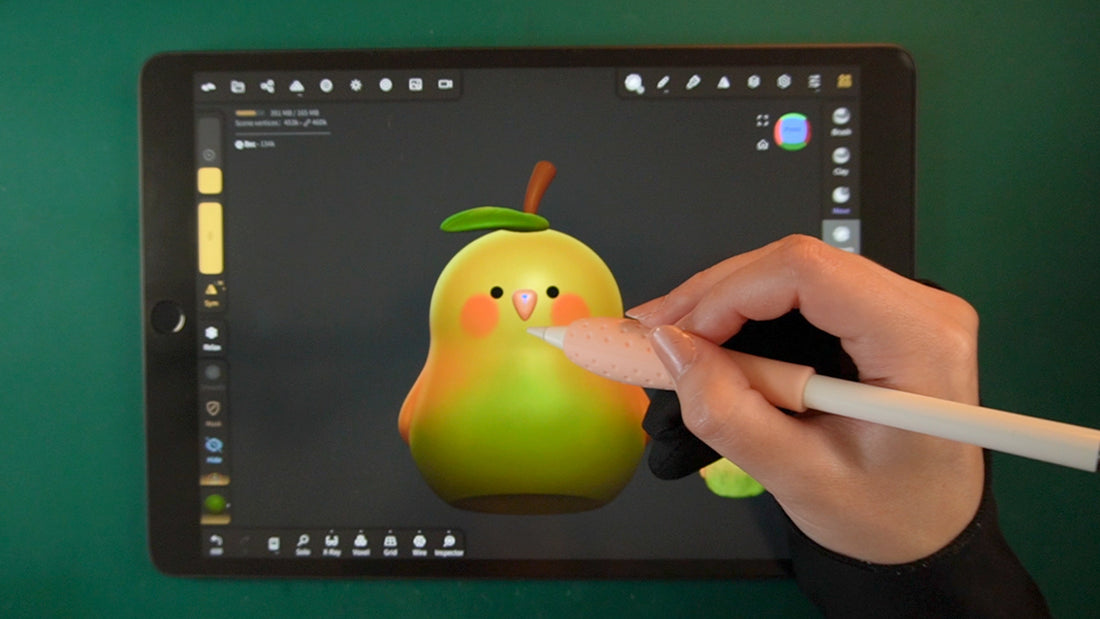
- Choose a sculpting Software: Select a 3D modeling software that suits your skill level and needs. Blender is a great software available for free. It has lots of video tutorials available on YouTube. A good paid option for iPad or tablets is Nomad sculpt.
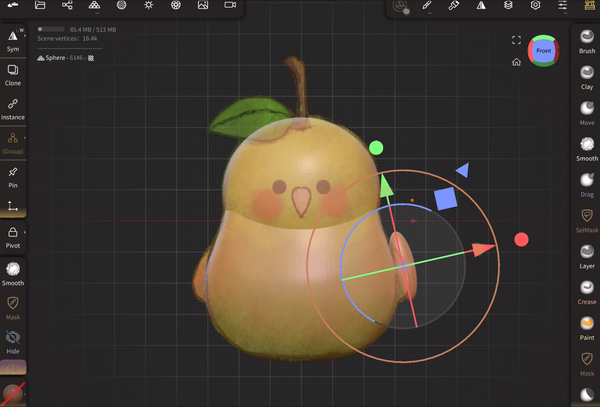
- Block your Shapes: Start by creating the basic shapes of your model. Use primitives like cubes, spheres, and cylinders. (Add your sketch in the background and built directly on top of it.)
- Add Details: Once everything is blocked out, add more details to your model.
- Try to use the symmetry or mirror tool as often as you can to save time.
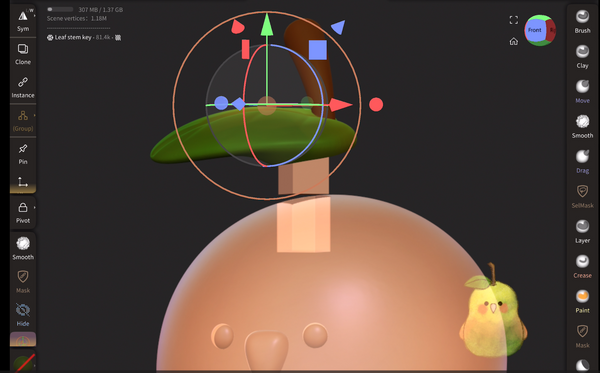
- Don't merge your shapes together until necessarily or until you're ready to cut the model
- Name your layers as you go
- Save often or have the auto-save feature enabled

Step 3: Prepare the Model for Printing
- Make sure the model is watertight: check for holes or anomalies in the mesh and make sure the model is watertight/closed. Switch to the X-ray mode to make sure there’s no stray shapes hidden that would cause trouble when printing.
- Double check: Take one last good look at your model from every angle. See if anything needs final adjustments.
- Keep a copy of the unmerge/uncut original: Group your layers together and create a copy of the completed model or make a new save file. This way if you make a mistake when merging or cutting the shapes you can go back without starting over.
- Merge and cut the shapes: Combine shapes into one solid mesh. Make sure there are no overlapping meshes. Trim the model in separate pieces if needed.
- Add keys if necessary: To help with alignment, add keys and keyholes so you can easily assemble your model once printed.
- Try not to make the keys to small
- Try to cut in places that flows with the design
- Scaling: Adjust the model size to the scale you want to print it.
- Adjust the poly count: Reduce or add more polygons to the mesh as needed. Try to reduce unnecessary polygons, but keep enough that the mesh is not rough.
- Export the Model: Export your 3D model in a format compatible with 3D printers, typically STL or OBJ.

Step 4: Prepare the STL for Printing
- Import your files into a Slicing Software: Use slicing software like Cura, PrusaSlicer, or Chitubox to prepare your model for printing.
- Add supports: Add sufficient printing supports and infill (For resin printers: hollow out the print, add drain holes then add printing supports)
- Set Print Parameters: Adjust your print settings to match the requirements of your 3D printer and materials (resin or filament).
- Preview the Print: Use the slicing software’s preview feature to check the print layers and supports. Make sure there are no errors or problematic areas.

Step 5: Printing the Model
- Prepare the Printer: Ensure your 3D printer is ready. Clean the build plate, load the printing material, and calibrate the printer if necessary.
- Start the Print: Transfer the sliced file to your printer, either via SD card, USB, or direct connection. Begin the printing process.
- Monitor the Print: Keep an eye on the print, especially during the first few layers. Make sure the print is adhering well to the build plate and that there are no issues.
- Post-Processing: Once the print is finished, remove it from the build plate carefully. Clean and remove any supports, sand rough edges, and assemble parts if necessary.
- Key fitting: Check that the keys fit properly and if there are any parts that require modifications. If so, make the adjustments and reprint your model.
- Painting: Paint or apply any additional finishing touches to your model.
Congrats you've successfully created your own 3D model! Keep up the good work!


